About Wizard Run
Three obstacles, and a colour rule that never lies
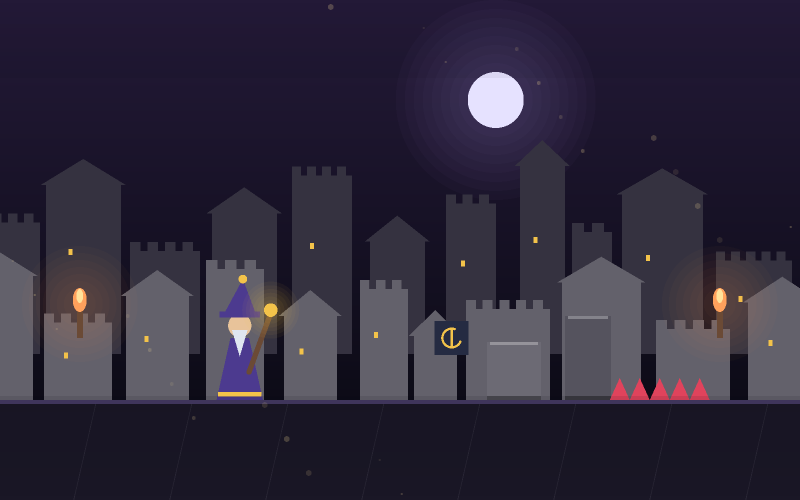
The forest throws exactly three things at you. A raised root sits on the ground and needs a jump. A low branch hangs at chest height and needs a duck - jumping into one is the single most common way a run here ends. And an arcane ward stands upright, outlined in violet, pulsing.
The colour rule is the whole teaching device, and it is the same across every game on this site. Brown and green scenery is solid: you cannot destroy it, so your only options are over or under. Violet is arcane: it can be destroyed, and destroying it is worth between 120 and 300 points where clearing a root is worth 35.
That gap is deliberate. The game is not asking whether you can avoid things - it is asking whether you will take the risk of dealing with them.
Mana, and why casting at everything fails
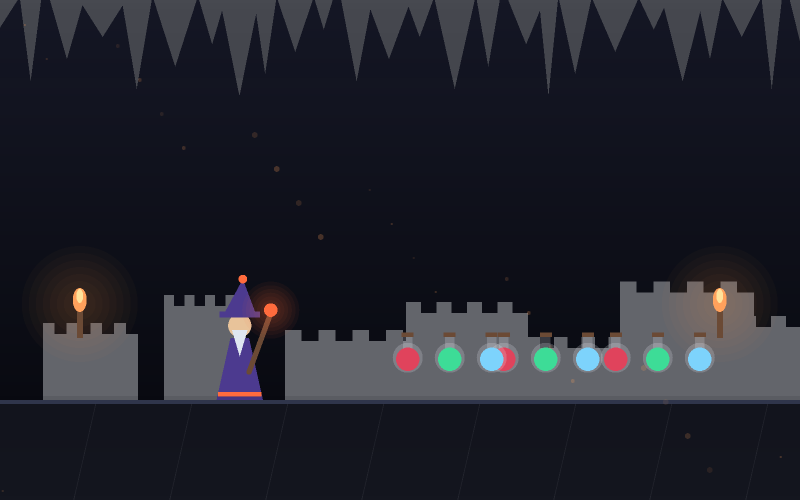
A spell costs about a third of your mana bar, and the bar refills at twenty points a second. In practice that means you can cast roughly every one and a half seconds without ever running dry - and wards arrive faster than that once the pace picks up.
So the run turns into a resource problem. Burn every ward you see and you will eventually sprint at one with an empty bar and no way to deal with it. Skip too many and your combo never gets going, because dodging a ward breaks the chain on purpose.
The answer most good runs settle on is to skip the wards that arrive immediately after a jump, since those are the ones where you are in the air and the cast is hardest to aim, and to take everything else.
Timing the burn, and why late is better
A ward destroyed at the last possible moment scores more than one destroyed the instant it appears. The scoring reads how far the ward had travelled when your bolt reached it, and anything past about three-quarters of the way counts as a perfect burn.
This is not a trick to punish you. Burning a ward the moment it enters the screen requires no judgement at all - the ward is 700 pixels away and nothing else is happening. Burning it late means holding your nerve while it closes, which is a genuine skill and is paid accordingly.
The practical version: cast when the ward is about a third of the way across the screen, not when it appears. Your bolt travels fast enough to cover the rest.
The treasure is telling you where to go
Coins and crystals are not scattered. Over a root you will find an arc of treasure, and the arc traces the exact jump that clears it - follow the treasure and you have performed the correct jump without thinking about it. Under a branch you will find a low straight trail, which rewards committing to the duck rather than hedging.
Occasionally a cluster of crystals floats just past an obstacle at head height. That is a reward for clearing something cleanly and carrying your speed, not a separate challenge.
Power-ups appear rarely and never sit on top of an obstacle. A Shield Spell absorbs one hit outright, a Magic Magnet pulls treasure to you for eight seconds, and a Double Score Spell is worth going slightly out of your way for.
How to play
- Press Space, Enter or tap the canvas to start running.
- Press Up or W, or tap the top third of the screen, to jump a root.
- Press Down or S, or tap the bottom third, to duck under a low branch.
- Press Space, or tap the middle of the screen, to cast a bolt at a violet ward.
- Follow the arcs and trails of treasure - they trace the movement the obstacle wants.
- Watch the mana bar under your hearts. A cast you cannot afford does nothing but cost you time.
- You have three hearts. A hit costs one and breaks your combo; the run ends at zero.
Controls
| Where | What to do |
|---|---|
| Keyboard - jump | Up arrow or W |
| Keyboard - duck | Down arrow or S |
| Keyboard - cast a bolt | Space or J |
| Keyboard - pause | Escape or P |
| Keyboard - restart | Space or Enter on the results screen |
| Touch - jump | Tap the top third of the play area |
| Touch - duck | Tap the bottom third of the play area |
| Touch - cast | Tap the middle, or the Cast button below the canvas |
Scoring
These are the point values this game awards, before the combo multiplier is applied where it uses one. Hit quality changes the figure: a strike at the centre of the correct moment is worth substantially more than one at the edge of it.
Tips
- Cast when a ward is about a third of the way across the screen. Early burns score least.
- Low branches need a duck, not a jump. This is the most common cause of a lost run.
- Follow the treasure arcs - they trace the exact jump that clears the obstacle underneath.
- Skip the ward that arrives immediately after a jump. Casting mid-air is the hardest shot in the game.
- Keep one cast in reserve. An empty mana bar at speed is almost always fatal.
- A Shield Spell is worth a small detour; a Magic Magnet is worth a large one if your combo is high.
Common mistakes
- Jumping at low branches because jumping is the reflex answer to an obstacle.
- Casting the instant a ward appears, which scores the minimum and empties the bar early.
- Dodging wards to stay safe - it works, but it breaks the combo every time and caps your score.
- Watching the wizard instead of the right-hand edge of the screen.
- Tapping the movement buttons on a phone rather than holding them.
Features
- Three obstacle types introduced one at a time, each with its own answer.
- A mana bar that makes every spell a decision rather than a free action.
- Burn timing graded continuously, so a late destroy outscores an early one.
- Treasure laid out in arcs and trails that trace the correct movement.
- Shield, Magnet and Double Score spells that drop rarely and never on top of an obstacle.
- Personal best score, distance and combo stored in your own browser.
- Full touch support with three large buttons, or tap-by-screen-third.