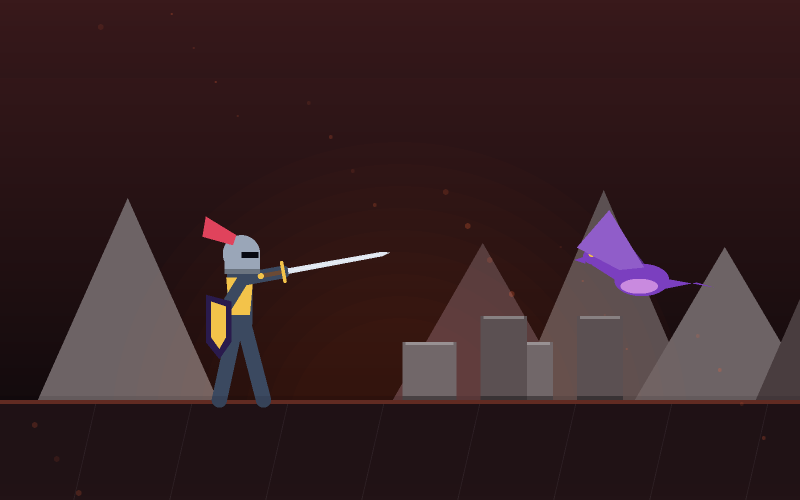
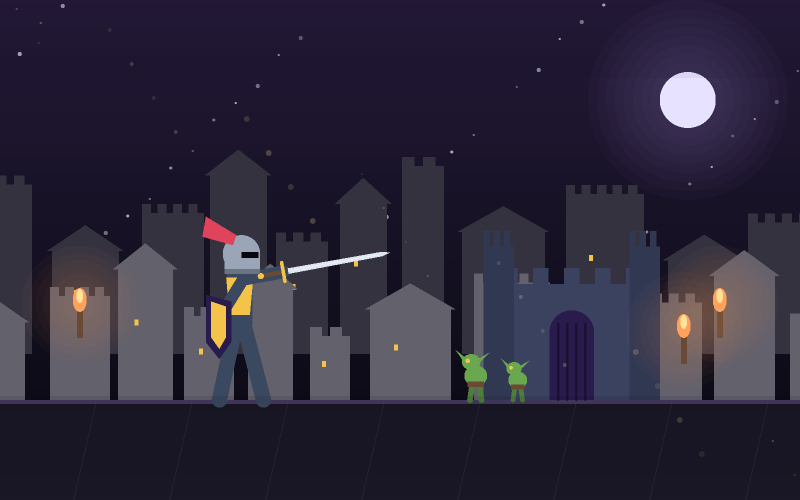
About Monster Escape
The dash goes through things
The dash travels at 760 pixels a second with invulnerability for its duration, and it passes through monsters rather than around them. That means the correct answer to being cornered by four things is usually to go through the middle of them.
That is a difficult instinct to build. Every other game teaches you to look for a gap, and looking for a gap here is how runs end - by the time you have found one, the crowd has closed it.
The cooldown is 0.55 seconds, short enough to use as ordinary movement. Players who treat it as an emergency button use it about a quarter as often as they should.
Chambers, quotas and why you cannot rest
Each chamber has a treasure quota and an exit that opens when it is met. While the exit is shut, monsters keep arriving - so there is no clearing a room, only leaving it.
The chamber after is busier and its exit is further from the entrance, which means the route lengthens at the same rate the room fills. Every third chamber restores a heart.
Treasure is laid out in clusters, rings and trails, so a route through a chamber can be planned rather than improvised - which matters a great deal when improvising means walking into a wraith.
Three wards, and what they are actually for
A warding rune freezes every monster on screen for two seconds. You start with three, a fourth appears in a corner of every second chamber, and they never drop from monsters.
Two seconds is enough to cross most of a chamber, which makes a ward a movement tool rather than a defensive one. Spending one to escape a single pursuer is almost always a waste; spending one to cross a room that has filled up behind you is almost always right.
Because the replacement rune sits in a corner, picking up a third ward is itself a risk. That is deliberate - there is no safe way to be well-supplied.
How to play
- Press Space, Enter or tap to enter the first chamber.
- Move with WASD, the arrows, or by dragging.
- Press Shift or Z to dash - it travels through monsters and is briefly invulnerable.
- Press Space to spend a warding rune, freezing everything for two seconds.
- Collect the chamber's treasure quota to open the exit.
- Reach the exit to escape into the next, busier chamber.
Controls
| Where | What to do |
|---|---|
| Keyboard - move | WASD or the arrow keys |
| Keyboard - dash | Shift or Z |
| Keyboard - warding rune | Space |
| Touch - move | Drag anywhere away from the runner |
| Touch - dash | Tap near the runner |
| Touch - ward | The Cast button below the canvas |
Scoring
These are the point values this game awards, before the combo multiplier is applied where it uses one. Hit quality changes the figure: a strike at the centre of the correct moment is worth substantially more than one at the edge of it.
Tips
- Dash through monsters rather than looking for a gap. The gap closes while you look.
- The dash cooldown is half a second. Use it as movement, not as an emergency.
- Save wards for crossing a filled room, not for escaping one pursuer.
- Plan a route through the treasure patterns before you start moving.
- Wraiths ignore terrain and never take a wrong route - deal with the distance, not the direction.
- Every third chamber restores a heart. Reaching it healthy is worth slowing down for.
Common mistakes
- Treating the dash as a panic button and using it four times a chamber instead of twenty.
- Spending a ward on a single goblin.
- Standing still to collect while the exit is shut, which simply summons more monsters.
- Going for the corner rune with a crowd already behind you.
- Looking for a gap when the correct answer is straight through the middle.
Features
- No weapon of any kind - the dash and the wards are the entire toolkit.
- A dash that passes through monsters with brief invulnerability, on a short cooldown.
- Three warding runes that freeze everything for two seconds.
- Chambers that keep spawning while the exit is shut.
- Replacement runes placed in corners, so restocking is itself a risk.
- Personal best chamber depth and treasure count stored locally.